Karaoke is a popular pastime and form of entertainment where individuals sing along to recorded music using a microphone. The lyrics are displayed on a screen along with the music video or a colorful background.
Karaoke allows anyone to unleash their inner rock star in a fun and relaxed environment. While karaoke machines are specifically designed for karaoke, you can easily turn your regular TV into a makeshift karaoke system by connecting a microphone.
There are a few different methods for connecting a microphone to a TV which will be covered in this guide. The most straightforward approach is a wired connection with a 3.5mm audio jack, USB, or HDMI port.
For a wireless setup, you can use Bluetooth or Wi-Fi to pair the microphone. Setting up karaoke with your TV has many benefits compared to going to a karaoke bar or buying a dedicated machine. It allows you to save money while still enjoying singing your favorite hits in the comfort of your home.
This guide will provide step-by-step instructions for connecting a microphone to a TV using wired and wireless options. Troubleshooting tips for common issues will also be covered. By the end, you will have all the necessary knowledge to turn your TV into a karaoke machine to impress your friends and family with your stellar singing skills!
Methods for Connecting a Microphone to a TV
There are two main methods for connecting a microphone to a TV – a direct wired or a wireless connection.
Direct Connection
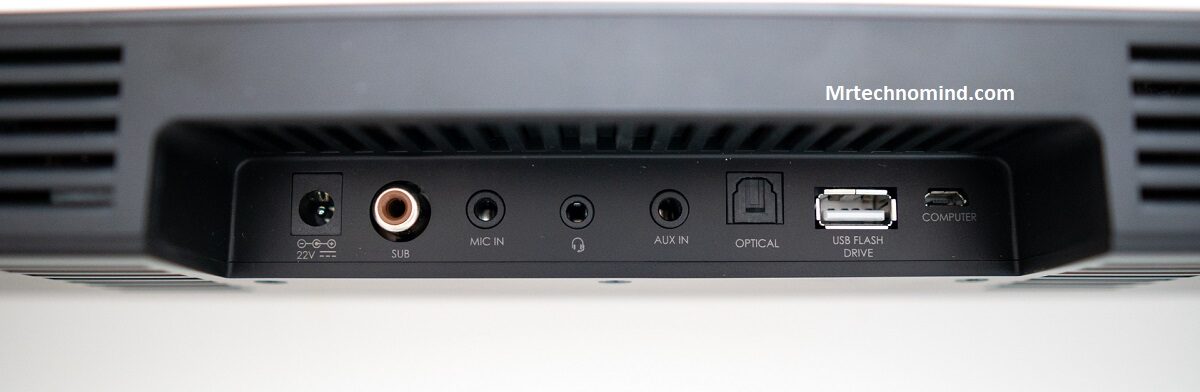
A wired connection is the most straightforward way to connect a microphone to a TV and it works with any television with the appropriate ports. The main ports used are:
3.5mm jack: This is the most commonly used audio connection for microphones. Most mics will have a 3.5mm plug that can be directly inserted into the 3.5mm microphone jack on the TV, usually located on the side or back.
USB port: Some microphones connect via USB instead of a 3.5mm jack. They can be plugged into any USB port on the TV.
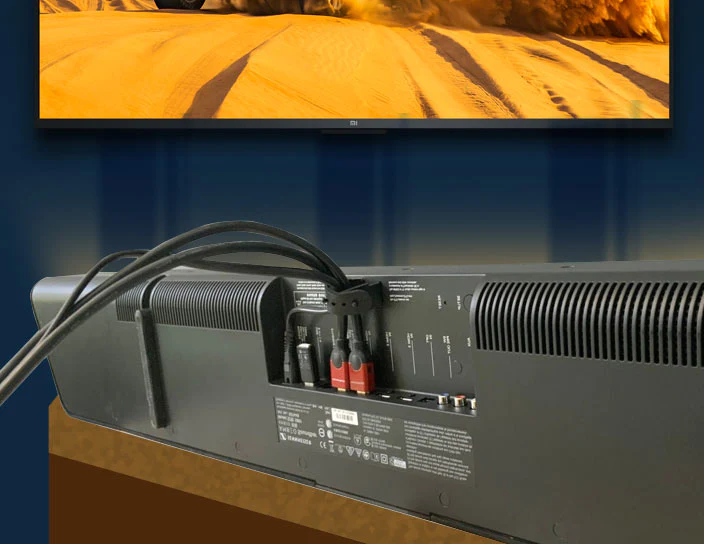
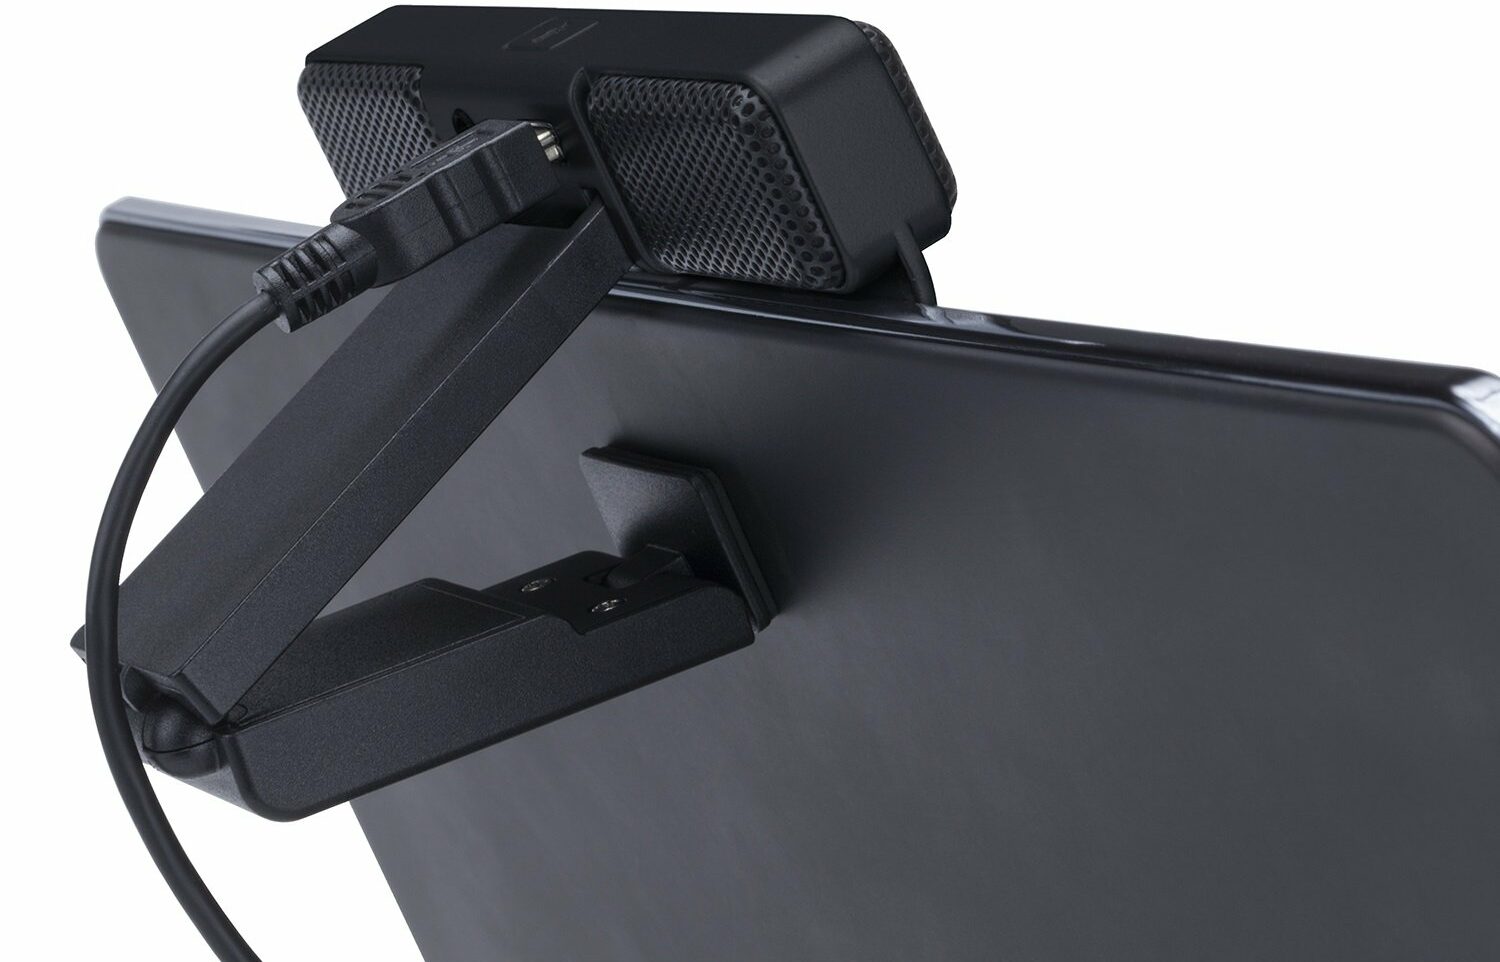
HDMI port: HDMI carries both audio and video signals. Using an HDMI audio extractor, the microphone audio can be routed. The audio extractor splits the HDMI signal, sending the video to the TV while converting the audio to a 3.5mm output for the mic.
Wireless Connection
For a cord-free karaoke experience, you can connect a wireless microphone to the TV using Bluetooth or Wi-Fi:
Bluetooth: Most smart TVs have built-in Bluetooth support. A Bluetooth microphone can be paired to the TV, allowing wireless audio transmission between the two devices. The pairing process is quick and simple.
Wi-Fi: Some high-end microphones have Wi-Fi connectivity. They can connect to the wireless internet network like any other smart device. The mic sends audio signals over the Wi-Fi, which can be picked up on the TV. Audio latency is very low, allowing smooth karaoke performance.
Step-by-Step Guides for Connecting a Microphone to a TV
Follow these detailed instructions for connecting different types of microphones using both wired and wireless options.
3.5mm Jack Microphone
- Make sure your TV has a 3.5mm microphone jack, usually with a mic icon next to it. Older TVs have this port, but some very new smart TVs remove it.
- Get a 3.5mm jack microphone. There are many affordable options from brands like Singing Machine, ION Audio, Shure, Behringer etc. Condenser mics provide good sound quality.
- Plug the 3.5mm jack from the microphone firmly into the mic port on the TV. Make sure it is properly inserted all the way.
- Turn both the TV and microphone on. The microphone should instantly be detected.
- Start up the karaoke application on your TV or streaming device. The mic will work immediately.
- Adjust the microphone and TV volume to balance the levels. Increase mic volume on the TV if your voice is too low.
- Hold the microphone 3-6 inches from your mouth when singing for best sound. Enjoy your karaoke session!
USB Microphone
- Verify the TV has a USB input port, preferably USB 2.0 or 3.0 for better bandwidth. Old TVs may lack USB ports.
- Select a USB microphone like the Blue Snowball or Samson Meteor Mic. Check if the TV supports USB mics before purchase.
- Connect the USB cable from the microphone into any USB port on the TV. Push it in.
- Power on the TV and microphone. The TV should instantly detect the connected USB device.
- Open the karaoke app on your streaming device or smart TV platform. The microphone will be enabled.
- If the mic volume is too low, use TV audio settings to increase USB mic levels.
- Position the microphone appropriately and sing your favorite songs in crisp, clear audio quality.
HDMI Audio Extractor
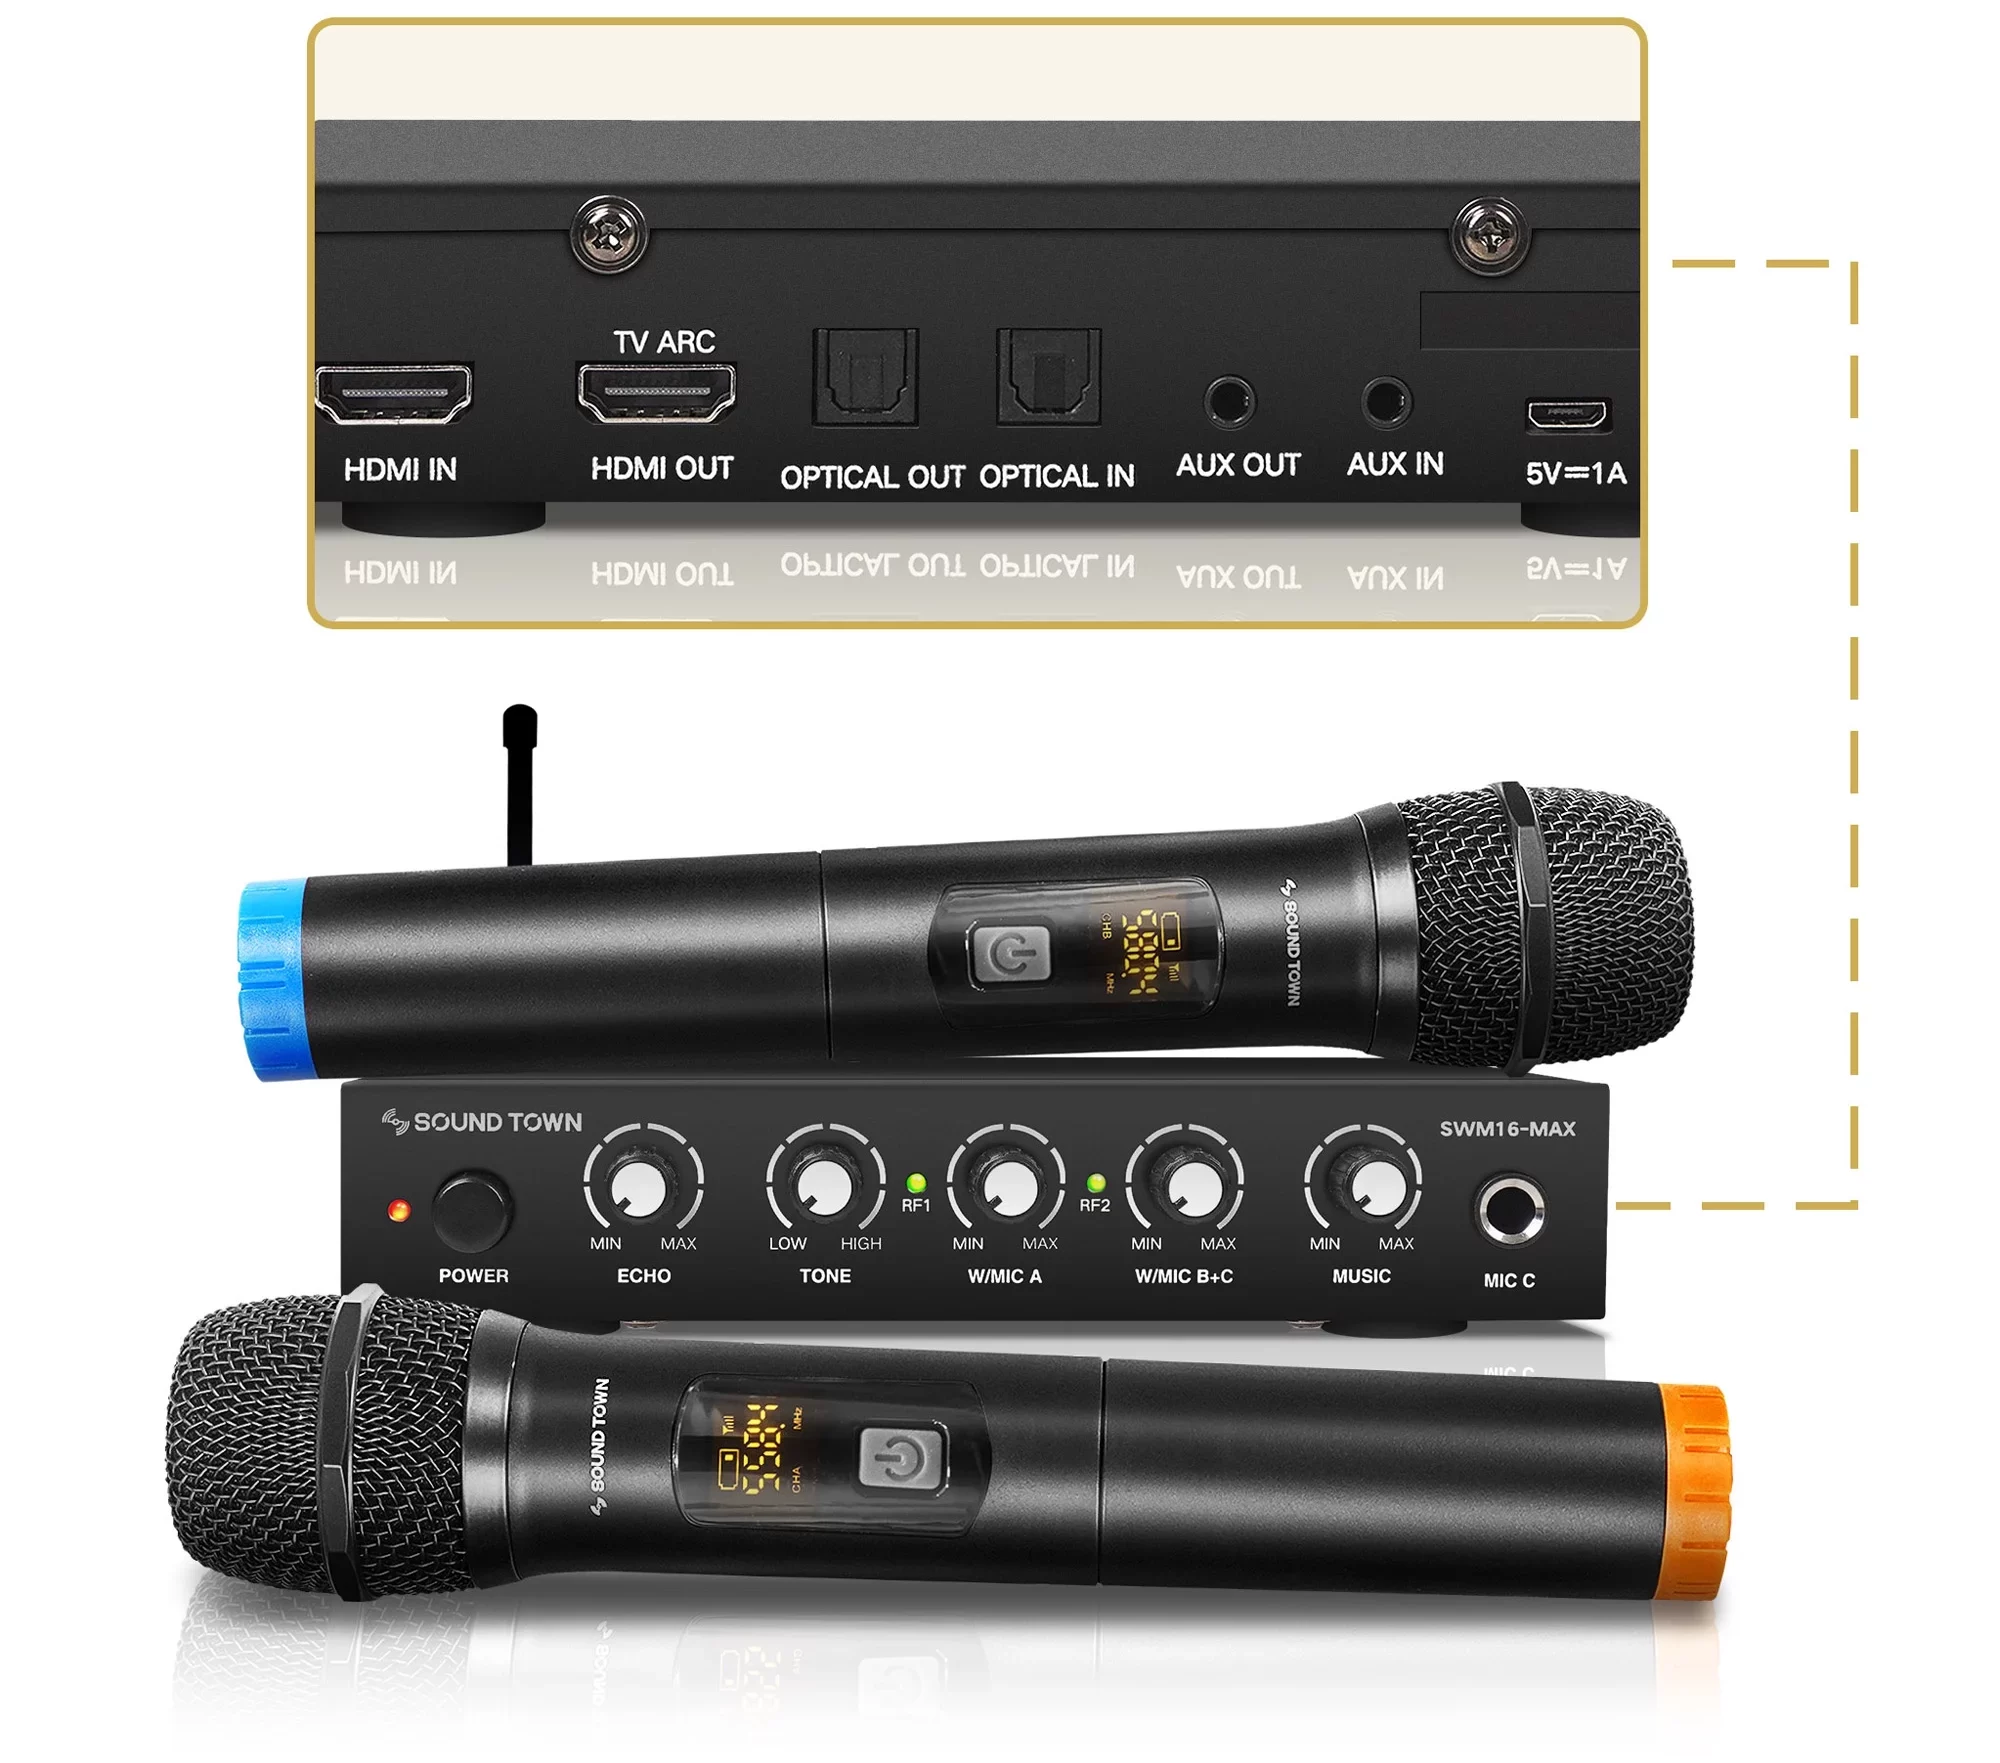
- Get an HDMI audio extractor with a 3.5mm audio output jack like the ViewHD, Techole or UGREEN brands.
- Connect your TV’s HDMI output to the extractor’s input using a spare cable.
- Plug your 3.5mm microphone into the audio extractor’s audio output jack.
- The extractor will split the signals, sending karaoke video to your TV and audio from the mic to the extractor.
- Turn on the extractor and select the desired audio output mode for karaoke. Refer to its manual for settings.
- Start singing with the properly connected microphone for pristine HDMI sound quality!
Bluetooth Microphone
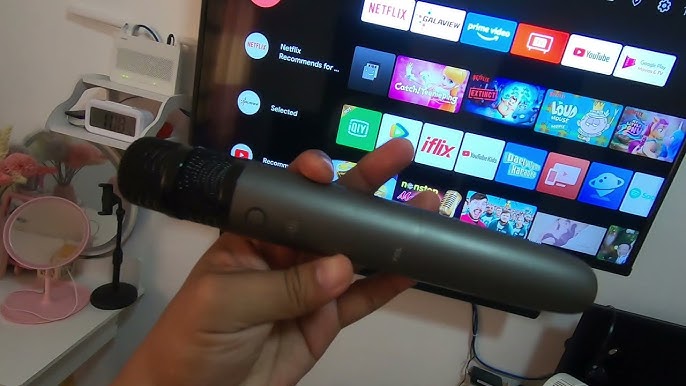
- Check if your smart TV supports Bluetooth and audio connectivity over Bluetooth. New TVs mostly have this.
- Get a Bluetooth microphone like FIFINE UHF or GTD Audio Bluetooth mic, which can pair with TVs.
- Turn on the TV’s Bluetooth setting and put the microphone in pairing mode.
- Search for available Bluetooth devices on the TV and select the microphone when it appears.
- The mic will connect after the pairing is completed. It may take 10-15 seconds.
- Launch your karaoke app and the Bluetooth microphone will work seamlessly.
- Adjust the mic volume from TV settings if needed. Position the microphone appropriately while singing.
Wi-Fi Microphone
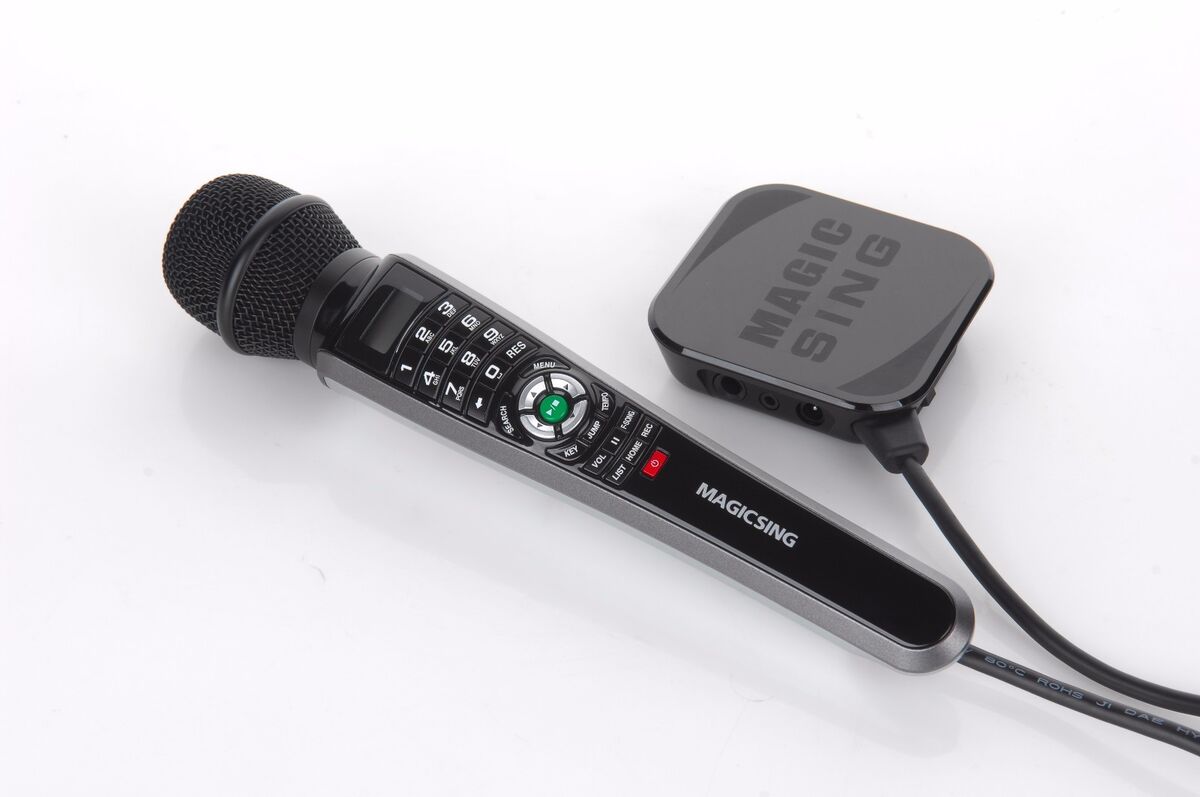
- Ensure your TV and microphone are connected to the same Wi-Fi network. Use the network credentials.
- Power on the Wi-Fi microphone and connect to the Wi-Fi using the company’s app on your smartphone.
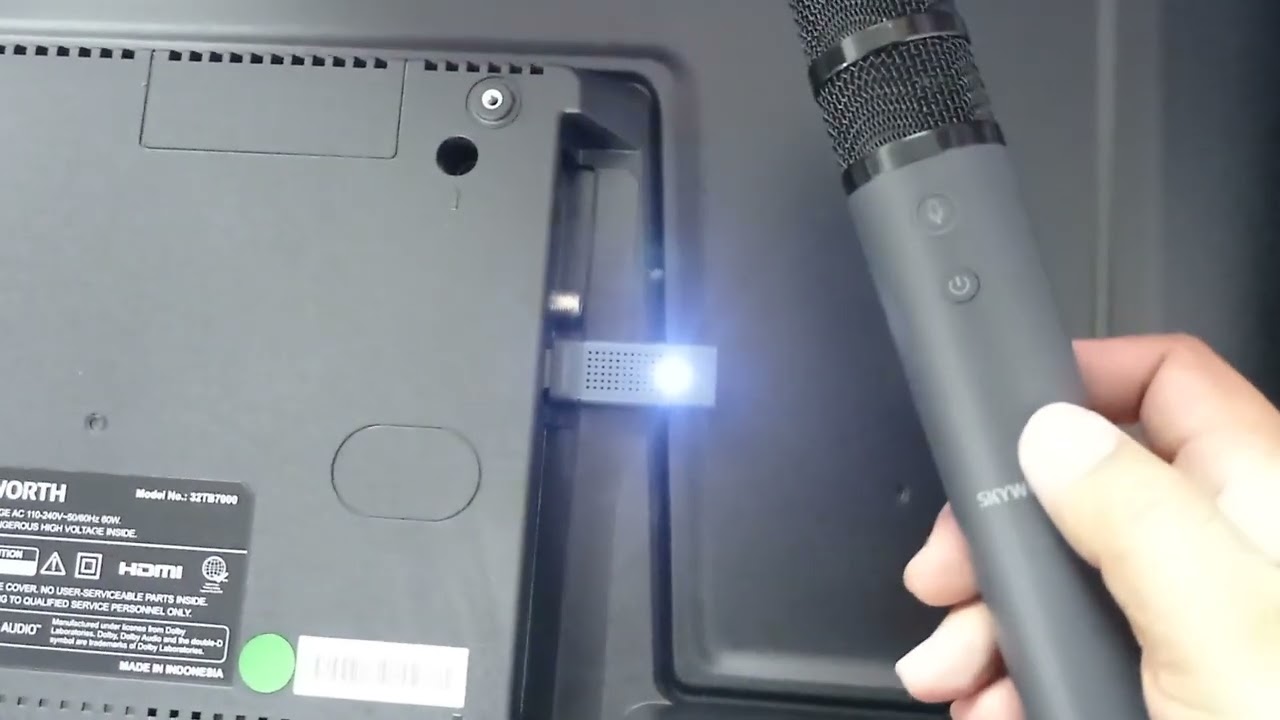
- On the TV, open the microphone brand’s app. It will detect the mic automatically over the Wi-Fi network.
- You can also connect using the Wi-Fi mic’s proprietary dongle inserted into the TV’s USB port.
- Launch the karaoke application once pairing is successful. Mic audio will transmit wirelessly over Wi-Fi.
- Set optimum volume levels on both TV and microphone for best performance.
- Enjoy crystal clear, lag-free sound with no cables getting in the way!
Troubleshooting Tips
You may encounter some hiccups when connecting a microphone to the TV. Here are some common problems and solutions.

Issue: Mic is connected, but the TV has no sound from it.
- Check the mic volume settings on your TV and turn it up if muted or too low.
- Try connecting the microphone to a different port on the TV.
- Replace microphone batteries if using a wireless option.
Issue: Mic sound is distorted or has static noise.
- Move the microphone closer to your mouth when singing.
- Check microphone sound levels and reduce TV volume if too high.
- Adjust audio enhancement settings like equalizers and noise reduction.
Issue: Echo or feedback from the microphone.
- Lower TV volume and increase microphone volume for proper balance.
- Ensure adequate distance between TV speakers and the microphone.
- Use mic directionality options to point away from TV speakers.
Issue: Choppy microphone sound when using Bluetooth or Wi-Fi.
- Move the microphone closer to the TV to improve wireless signal.
- Disconnect other devices using same wireless band. They may cause interference.
- For Wi-Fi mics, connect TV and mic to 5Ghz network for best performance.
Additional Tips for Karaoke
Along with microphone connectivity, also consider these tips to enhance your home karaoke experience:
- Choose a unidirectional dynamic microphone which picks up sound from one direction preventing feedback.
- Set up speakers around the TV at an angle facing towards the singer for monitoring purposes.
- Minimize any echo by having mic sing facing away from the TV and using sound dampening materials.
- Play instrumental tracks instead of full songs so you can take center stage.
- Create a playlist for karaoke night mixing up tempo and genres to suit different singers.
- Set lyrics text size on your karaoke application to a large and legible font.
- Have fun with props like wigs, hats and costumes to get into character while singing.
- Rotate singers and ensure everyone gets a turn with the microphone.
Conclusion
Connecting a microphone to your TV provides an incredibly fun and budget-friendly way to enjoy karaoke nights with family and friends. This guide covers various wired and wireless methods for setup using different ports and microphone types.
Whether you opt for traditional 3.5mm or cutting-edge Wi-Fi mics, following the right instructions ensures an optimal singing experience. With your TV transformed into a karaoke machine, you’ll be amazed by the sound quality supporting your talents.
Just avoid common issues like low volume or echo using the troubleshooting tips. Now get your mic ready and be the star entertainer you were born to be!
Microphone Karaoke FAQ
1. What Cables Can I Use to Connect a Microphone to My Tv?
If using an audio extractor, you can connect a microphone to your TV using several cables and ports, including a 3.5mm audio jack, USB port, or HDMI port. The 3.5mm jack is the most common and simplest option.
2. How Do I Connect a Wireless Microphone to My Tv?
There are two main wireless options – Bluetooth and Wi-Fi. A Bluetooth microphone can pair directly with a smart TV that supports Bluetooth connectivity. For Wi-Fi mics, both the TV and mic must join the same wireless network to transmit audio.
3. What Should I Look for When Buying a Microphone for Karaoke on Tv?
When choosing a mic, consider sound quality, connectivity (3.5mm, USB, Bluetooth, Wi-Fi), price, and look for karaoke-friendly features like unidirectional pickup patterns to avoid feedback. Condenser mics provide good audio for karaoke.
4. How Can I Hear My Voice Through the Tv Speakers?
Once you connect the microphone with a cable or wirelessly via Bluetooth/Wi-Fi, the audio signal gets transmitted from the mic to the TV. This enables you to hear your vocals through the TV’s built-in speakers or external speakers connected to it.
5. My Mic is Connected, but the Sound is Distorted – What Should I Do?
Try reducing the TV volume and increasing the microphone volume to balance the levels. Also, ensure the microphone is 3-6 inches from your mouth, as being too far can degrade sound quality. You can also try audio enhancement settings on your TV, like equalizers.
6. What Causes Echo or Feedback When Using a Mic With Tv?
If the mic picks up audio from the speakers and gets re-transmitted, it can create a repetitive echo. To avoid this, use directional microphones, maintain adequate distance between the mic and speakers, and appropriately balance TV and mic volume levels.
7. How Can I Improve the Wireless Signal Between a Bluetooth/wi-fi Microphone and Tv?
Please ensure the mic is within range and move it closer to the TV. Reduce wireless interference by turning off or disconnecting other devices using the same band. For Wi-Fi mics, connect to a 5Ghz network instead of 2.4Ghz for better bandwidth.
8. Where can I find the microphone settings on my TV?
The microphone volume and other audio settings are typically located in your TV’s main audio menu or settings menu. A dedicated section for the microphone input may allow you to adjust levels and enhancements.
9. What happens if I run into issues using my karaoke mic with TV?
First try basic troubleshooting like changing batteries, adjusting volume, checking connections, restarting devices etc. If problems persist, consult your TV and microphone manuals for technical guidelines or contact customer support via phone, email or online chat.
10. Can I Use My Tv’s Smart Platform for Karaoke?
Many modern smart TVs have karaoke apps built into their smart platform interface. Otherwise, you can access karaoke apps on media streamers like Roku, Fire TV, Apple TV etc which also enable you to connect and use microphones.